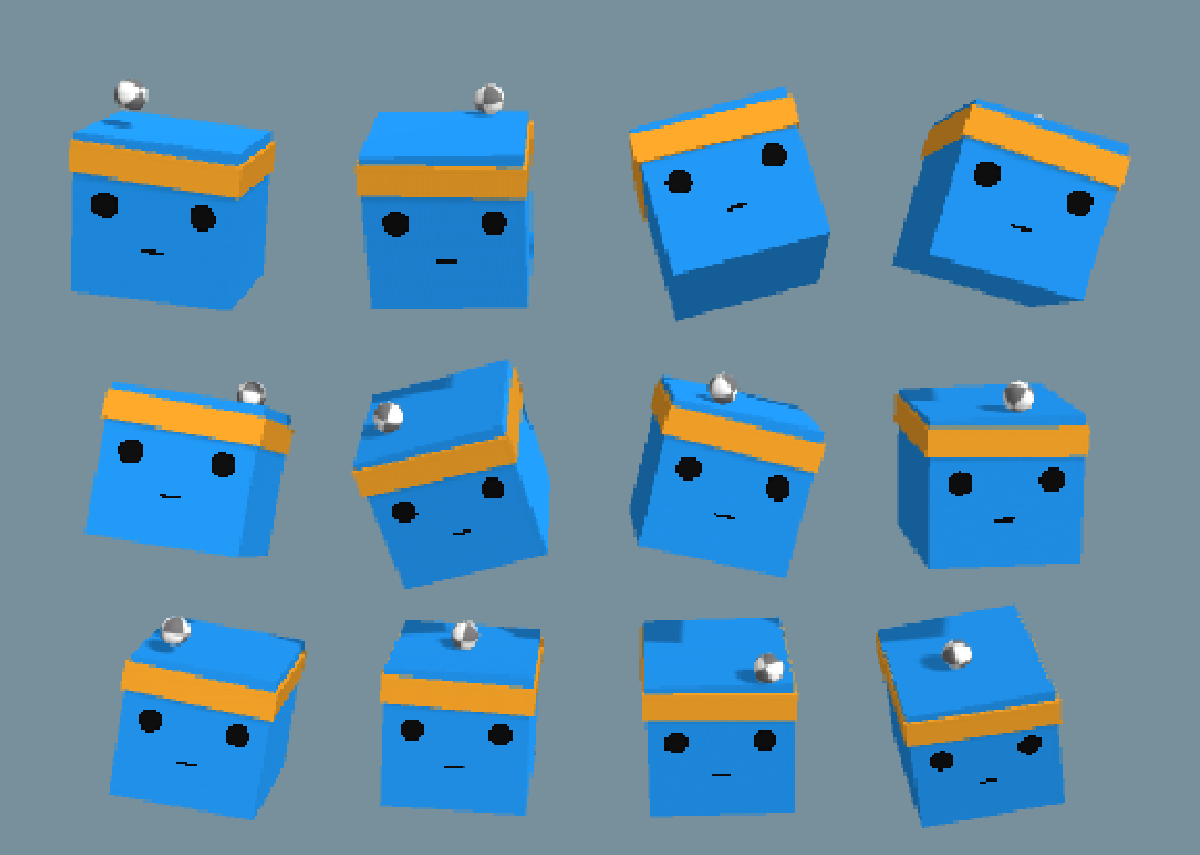

In this post, we will learn how to implement a Machine Learning Agent in Unity. In order to do that, we will install the Unity ML-Agents Toolkit, that allows to train an agent to complete tasks. We will first follow the installation guide and check one of the built-in examples, and then create our own agent from scratch.
Setting up the ML-Agents Toolkit#
This part basicaly follows the guide of the official Unity ML-Agents Toolkit manual. If any problem occurs, please refer to this page.
Prerequisites#
Before installing the toolkit, ensure you have the correct foundation:
Unity Editor: You must be using Unity version 6000.0 or later. Use Unity Hub to manage your installation.
Conda (or Mamba): You need a virtual environment manager to keep the ML-Agents Python dependencies isolated from the rest of your system.
1. Creating the Python Environment#
Python 3.10.12 is prefered. In a terminal, use Conda to create a new virtual environment specifically running Python 3.10.12, then activate it:
conda create -n mlagents python=3.10.12 && conda activate mlagentsIf you are on Windows, you will need to install PyTorch separately at this stage to ensure proper CUDA support for your GPU).
pip3 install torch~=2.2.1 --index-url https://download.pytorch.org/whl/cu1212. Installing the ML-Agents Unity Package#
Next, we need to add the toolkit to your Unity project. This is done via the Unity Editor:
Open your project in Unity.
Go to Window > Package Manager.
Click the + icon and select Add package by name.
Type
com.unity.ml-agentsand install it.
3. Installing the ML-Agents Python Package#
Finally, you need to install the Python side of the toolkit so your algorithms can communicate with Unity. Run this inside your Conda environment:
python -m pip install mlagents==1.1.0The 3D Ball example#
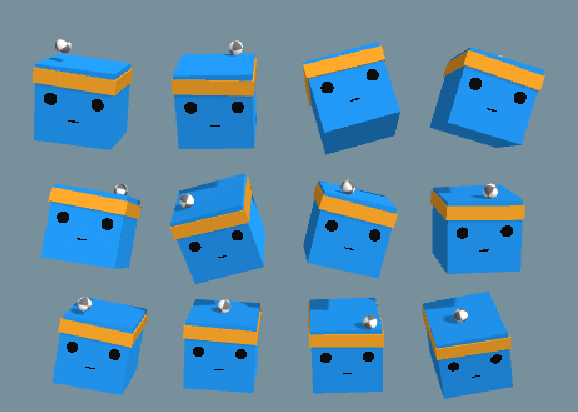
One of the examples Unity provides when installing ML-Agents is the 3D Ball environment, which contains several agent cubes and balls. In this environment, an agent cube is an Agent that receives a reward for every step that it balances the ball. An agent is also penalized with a negative reward for dropping the ball. The goal of the training process is to have the agents learn to balance the ball on their head. Now, we will quickly follow the steps from this page.
First, make sure you open the ML-Agents project that was setup earlier. In the Project window, you should now have access to Assets/ML-Agents/Examples/3DBall/Scenes, where you find the 3DBallscene file. Open it.
Run a pre-trained model#
Let’s run a model that Unity has already trained for us.
- In your Hierarchy, you will see several platforms (they are all identical clones to speed up training). Select the main 3DBall prefab so we can edit them all at once.
- In the Inspector window, look for a component called Behavior Parameters. This script dictates how the agent makes decisions.
- Go to your Project window and navigate to
Assets/ML-Agents/Examples/3DBall/TFModels. - You will see a file named 3DBall (this is the pre-trained
.onnxneural network model). Drag and drop this file into the Model slot on the Behavior Parameters component. - Make sure the Inference Device is set to CPU.
- Press Play at the top of the Unity Editor and see the model in action !
Train a new model from scratch#
Now let’s try to train our own 3DBall model.
- Make sure you are using the Conda environment we created in the setup guide :
conda activate mlagents- Navigate to the root directory where you cloned the ml-agents repository. Run the following command to start the training process:
mlagents-learn config/ppo/3DBall.yaml --run-id=first3DBallRun- The terminal will initialize and eventually display a message asking you to press the Play button in the Unity Editor. Go back to the Unity Editor and press Play. You can observe the training in the Unity Editor and the terminal, where you can see the results improving as the step go further.
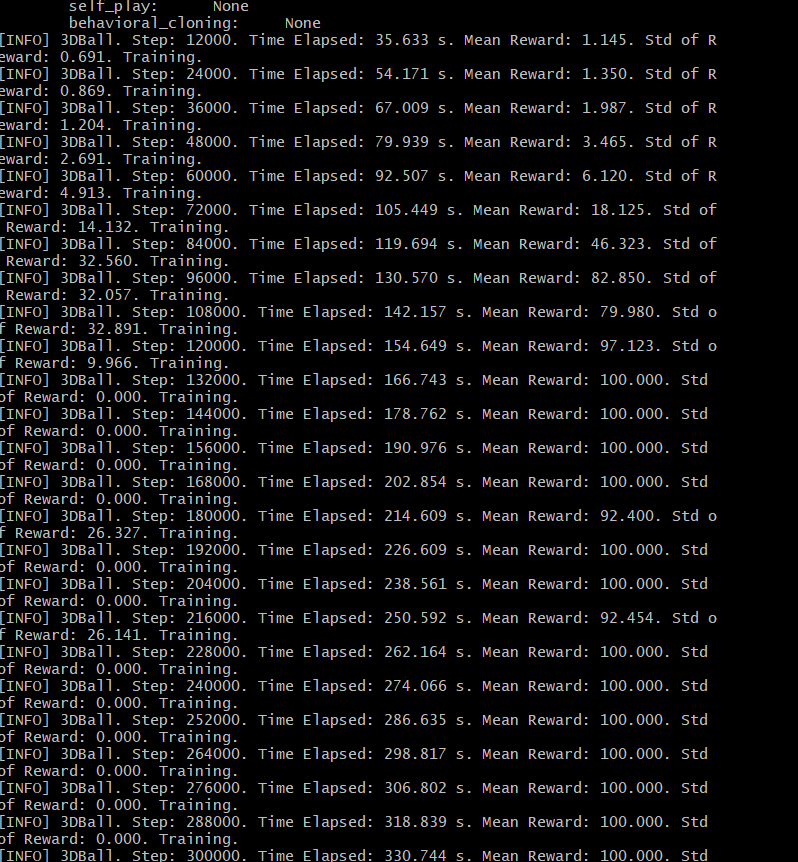
Once the training is complete, Unity automatically generates a .onnx
neural network file. You can find it in the /results folder within the ML-Agents directory.
Making our own environment#
For our own environment, we will train a ball agent to go towards target objects that are generated randomly inside the training area.
First let’s create the scene. In a new project (or a new Scene in the ML-Agents project), add a Plane for the ground, Walls if you want boundaries, a Sphere object that will be our agent, and a target object (a red square in my case). Your Scene should look like the following :
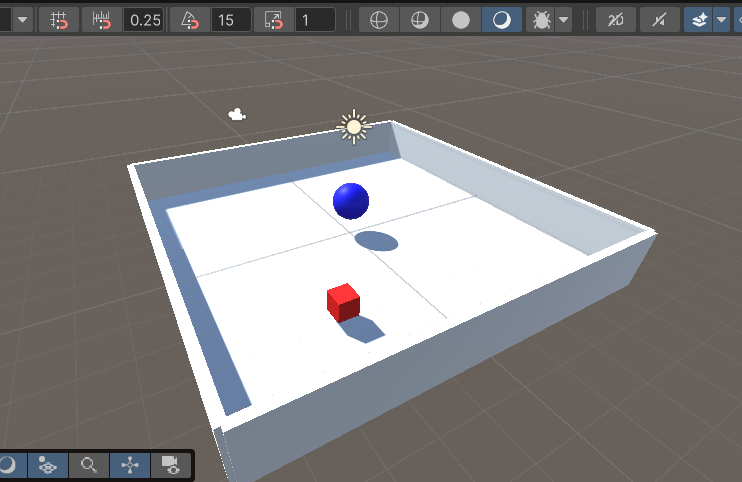
Add a RigidBody to the agent so it can interacts with physics, and create a tag ‘floor’ for the floor plane.
Now let’s implement the Agent Script to our agent object. Create a new “RollerAgent” script in the agent object. ML Agents splits training in episodes, where the Agents (in ou rcase the sphere) tries to solve the task. The file shoulf look like the following :
using UnityEngine;
using Unity.MLAgents;
using Unity.MLAgents.Sensors;
using Unity.MLAgents.Actuators;


public class RollerAgent : Agent
{

    public Rigidbody rBody;
    public float forceMultiplier = 10f;
    public Transform Target;

    // Start is called once before the first execution of Update after the Agent is created
    void Start()
    {
        rBody = GetComponent<Rigidbody>();
    }

    public override void OnEpisodeBegin()
    {
        // If the Agent falls off the platform, reset its position and zero out its velocity
        if (this.transform.localPosition.y < 0)
        {
            this.rBody.angularVelocity = Vector3.zero;
            this.rBody.linearVelocity = Vector3.zero;
            this.transform.localPosition = new Vector3(0, 0.5f, 0);
        }

        // Move the Target to a new random position to promote generalization
        Target.localPosition = new Vector3(Random.Range(-4f, 4f), 0.5f, Random.Range(-4f, 4f));
    }

    public override void CollectObservations(VectorSensor sensor)
    {
        // 1. Target Position (x,y,z) - Tells Agent where it needs to go
        sensor.AddObservation(Target.localPosition);

        // 2. Agent Position (x,y,z) - Allows Agent to know where it is now
        sensor.AddObservation(this.transform.localPosition);

        // 3. Agent Velocity (x,z) - Helps Agent control speed and avoid overshooting
        sensor.AddObservation(rBody.linearVelocity.x);
        sensor.AddObservation(rBody.linearVelocity.z);
    }

    public override void OnActionReceived(ActionBuffers actionBuffers)
    {
        // Receive 2 continuous actions (x, z directions)
        Vector3 controlSignal = Vector3.zero;
        controlSignal.x = actionBuffers.ContinuousActions[0];
        controlSignal.z = actionBuffers.ContinuousActions[1];

        // Apply force to the Rigidbody
        rBody.AddForce(controlSignal * forceMultiplier);

        // Calculate distance to target
        float distanceToTarget = Vector3.Distance(this.transform.localPosition, Target.localPosition);

        // If distance < 1.42 -> reward +1.0 and end episode
        if (distanceToTarget < 1.42f)
        {
            SetReward(1.0f);
            EndEpisode();
        }
        // If Agent falls (y < 0) -> end episode (no explicit penalty given)
        else if (this.transform.localPosition.y < 0)
        {
            EndEpisode();
        }
    }

    public override void Heuristic(in ActionBuffers actionsOut)
    {
        var continuousActionsOut = actionsOut.ContinuousActions;
        float h = Input.GetAxis("Horizontal");
        float v = Input.GetAxis("Vertical");

        continuousActionsOut[0] = h;
        continuousActionsOut[1] = v;
    }

}
In this scipt, we extend three methods from the Agent base class : OnEpisodeBegin, CollectObservations and OnActionReceived. The Heuristic method is also included for keyboard testing.
Now select the Agent and drag the Target object into the public “Target” field of the script. Add a ‘Decision Requester’ component with a decision period of 10. Add a ‘Behavior Parameters’ component and configure it to match the script : BehaviorName = RollerBall (the name of your agent), Vector Observation > Space Size = 8, Actions > Continuous Actions = 2.
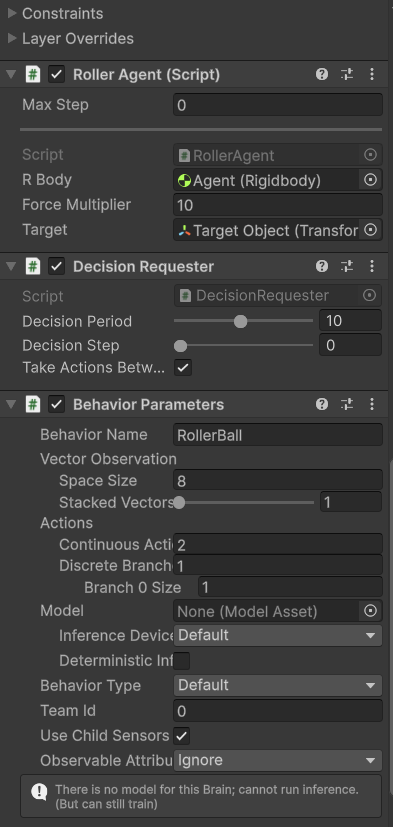
To prepare for training, create a configuration file in the config/ppo (let’s name ours rollerball_config.yaml ). This file contains hyperparameters like batch size, buffer size, and learning rate. Here is the file I used :
behaviors:
  RollerBall:
    trainer_type: ppo
    hyperparameters:
      batch_size: 10
      buffer_size: 100
      learning_rate: 3.0e-4
      beta: 5.0e-4
      epsilon: 0.2
      lambd: 0.99
      num_epoch: 3
      learning_rate_schedule: linear
      beta_schedule: constant
      epsilon_schedule: linear
    network_settings:
      normalize: false
      hidden_units: 128
      num_layers: 2
    reward_signals:
      extrinsic:
        gamma: 0.99
        strength: 1.0
    max_steps: 100000
    time_horizon: 64
Now we can start the training. From the working directory, use this command :
mlagents-learn config/rollerball_config.yaml --run-id=RollerBallPress the PLay button in the Unity Editor to watch the training process. Here are a video from the beginning of the training, where we see the agent struggling to reach the target, and an other from the end where it became very efficient and reaches multiple target per episodes.
Beginning of the training
End of the training