

In this guide, we’ll walk through how to get Unity up and running on a Windows machine and cover the basic concepts you need to know to get started.
The Basics#
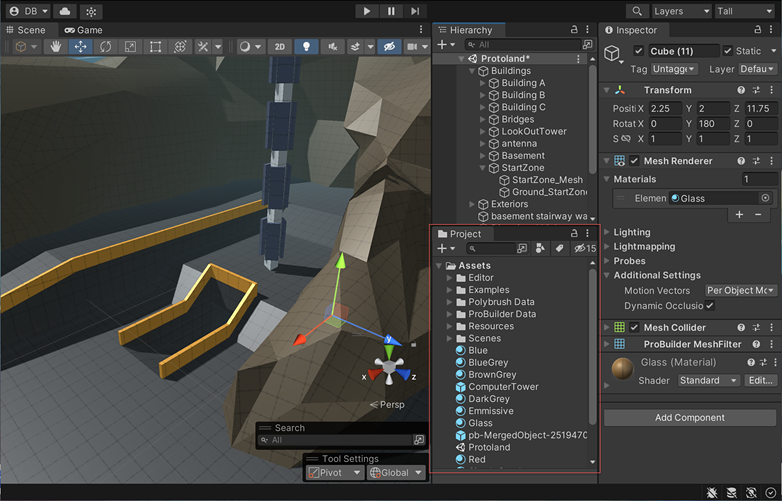
Before we download anything, let’s briefly go over what Unity actually is. Unity is a game engine—a software environment that handles the heavy lifting of game development (like rendering graphics, calculating physics, and managing audio) so you don’t have to code those systems from scratch.
Here are the core concepts you’ll work with inside the engine:
- Scenes: Think of a Scene as a single level, menu, or environment in your game. A game is usually made up of multiple scenes.
- GameObjects: Everything in a Unity scene is a GameObject. Characters, lights, cameras, and invisible trigger zones are all GameObjects. By themselves, they don’t do much—they are just empty containers.
- Components: This is where the magic happens. You add Components to GameObjects to give them functionality. Add a “Mesh Renderer” to make an object visible, a “Rigidbody” to give it gravity and physics, or an “Audio Source” to make it play sound.
- Scripts: When the built-in components aren’t enough, you write your own custom components using the C# programming language. These scripts dictate your game’s unique logic and rules.
Installing Unity on Windows#
Unity uses a management application called Unity Hub. This app organizes your different Unity projects and lets you install different versions of the Unity Editor (which is crucial, as different projects often require specific versions of the engine).
Here is the step-by-step process to get everything installed:
1. Download Unity Hub#
Head over to the official Unity download page and click the Download for Windows button. Run the installer .exe file that downloads and follow the standard Windows installation prompts.
2. Sign in and get a License#
Open Unity Hub. You will be prompted to sign in with your Unity ID. If you don’t have an account, create one (it’s free). Once logged in, you need a license. Go to Preferences (the gear icon) > Licenses > Add License. Choose Get a free personal license, or anything else that fits you.
3. Install the Unity Editor#
In Unity Hub, navigate to the Installs tab on the left menu and click the Install Editor button. You will see several versions. Always choose the recommended LTS (Long Term Support) release unless you have a specific reason not to. LTS versions are the most stable and receive updates for longer.
4. Create Your First Project#
Once the Editor finishes installing, go to the Projects tab in Unity Hub and click New project. Select a template (e.g., 2D Core or 3D Core), give your project a name, choose a folder to save it in, and click Create project.
Unity will now launch your brand-new project! The first time it opens, it might take a few minutes to import assets and set up the initial files.
You’re all set!